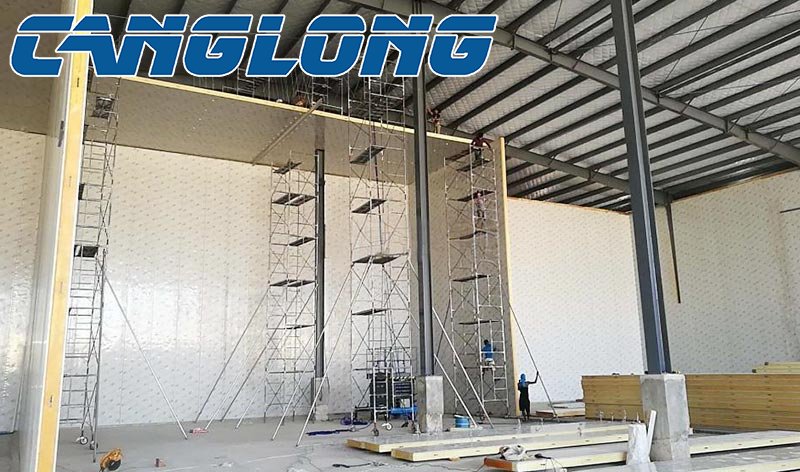
Polyurethane sandwich panel ceiling installation
Installing polyurethane sandwich panel ceiling requires careful planning and execution to ensure structural integrity and insulation efficiency. Here’s a step-by-step guide to help you through the process.

1. Site Preparation
Clean the Area: Clear the ceiling space of any debris or obstacles.
Inspect Framework: Ensure that the ceiling support structure is sound, level, and free of moisture.
2. Measurement and Layout
Measure the Ceiling Area: Use a measuring tape to determine the dimensions of the ceiling.
Plan the Layout: Mark where the panels will be installed, considering the panel sizes and ensuring minimal cutting.
3. Cutting Panels
Cut Panels to Size: If necessary, use a utility knife or panel cutter to trim panels to the required dimensions. Ensure cuts are straight and clean.
4. Installing Support Framework
Install Framework: If a support structure is needed, install it using appropriate materials (e.g., metal or wood framing) to support the panels at regular intervals (every 600mm or as specified).
5. Positioning Panels
Start from One Side: Begin installation from one side of the ceiling, securing the first panel in place.
Align Panels: Ensure the panel is level and properly aligned with your markings.
6. Fastening Panels
Secure the Panel: Use appropriate fasteners to attach the panel to the support framework. Fasteners should be placed at specified intervals, typically every 600mm along the edges.
Check Level: After securing, use a level to ensure the panel is straight. Adjust if necessary before proceeding.
7. Sealing Joints
Apply Sealant: Use a sealant gun to apply sealant along the joints between panels to prevent air and moisture infiltration.
Press Panels Together: Make sure adjacent panels fit snugly together for optimal insulation.
8. Additional Panels
Continue Installing Panels: Repeat the process for subsequent panels, ensuring proper alignment and securing each one.
Stagger Joints: For multiple rows, stagger the joints for added strength.
9. Finishing Touches
Install Edge Trims: If applicable, install edge trims to cover any exposed edges for a clean finish.
Final Inspection: Inspect all panels for secure fastening and proper sealing. Make any necessary adjustments.
10. Cleanup
Remove Debris: Clear away any excess materials and debris from the installation site.
Dispose of Waste: Dispose of any waste materials according to local regulations.
Following these steps will help you effectively install polyurethane sandwich panel ceiling, ensuring strong insulation and a professional finish. Always adhere to safety guidelines and manufacturer instructions for optimal results. If uncertain about any aspect of the installation, consider consulting with a professional.
Latest News
-
Can metal sandwich panels be used as industrial high-temperature protection materials?
-
Steel structure warehouse: innovative solution for efficient storage and modern storage units
-
Packaged and shipped steel structure garage project for American clients
-
Customized steel structure garage: meeting diverse parking needs


